
The NETS installation file may have been provided via a USB card or a secure download link. Follow these steps to install NETS:
- Double-click the "NETS Installer.exe" executable file to start the installation routine.
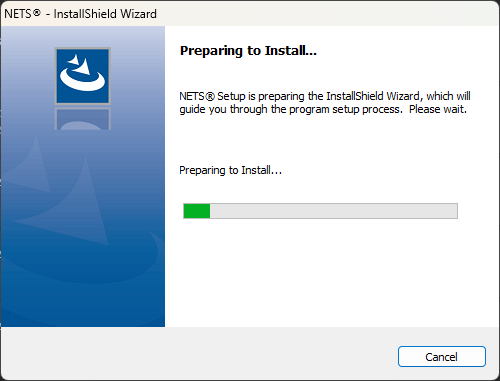
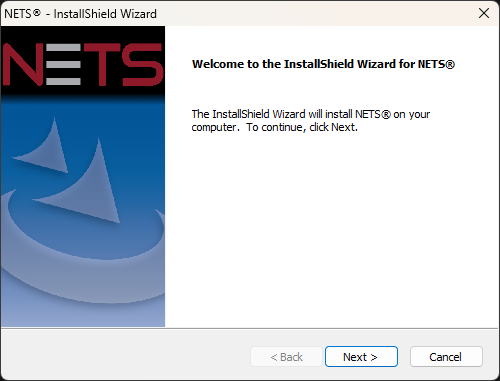
- Click the Next button.
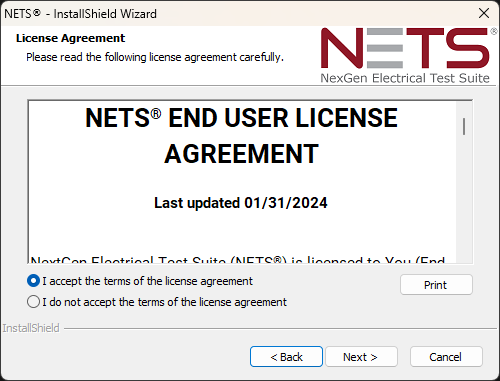
- Accept the license agreement and click the Next button.
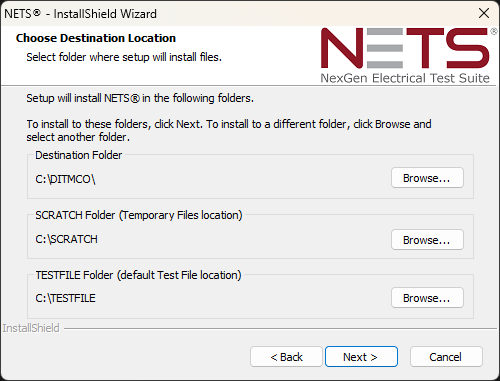
- The DITMCO, SCRATCH, and TESTFILE directories will be created with default names. DIT-MCO recommends not changing these directory names and locations. Click the Next button.
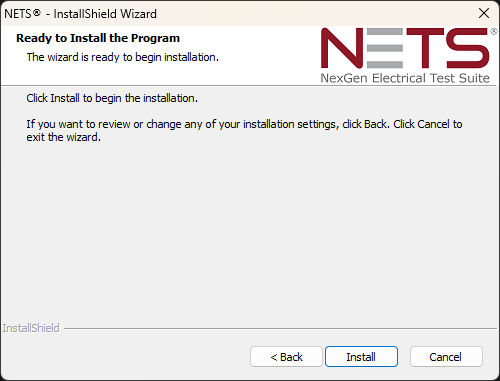
- NETS has gathered the required information and is ready to install. Click the Install button.
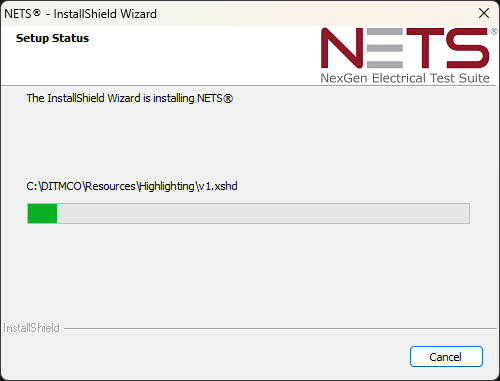
- The Setup Status window displays the installation progress.
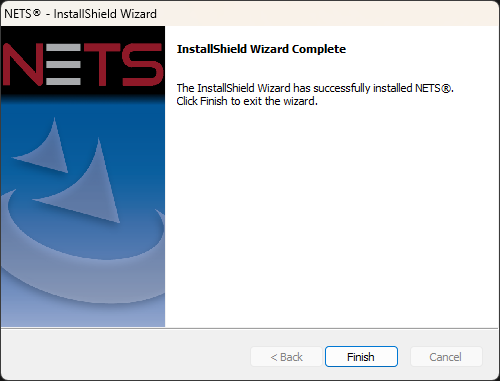
- Installation is complete. A NETS program icon has been placed on the Windows Desktop. Click the Finish button.
Source: NETS User Manual, Revision D, document 132-06035-0006, section 1.3.