
Follow these steps to update a tare map:
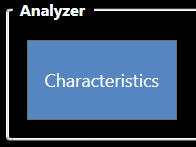
- Click the Characteristics button in the Analyzer menu.
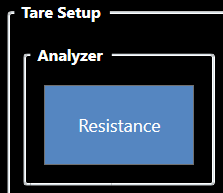
- Click on the Resistance button.
- The Tester Resistance window is divided into two (2) sections: Addressing Method and Options. In the Addressing Method section, the user specifies how the NETS software addresses the connectors of the Analyzer device.
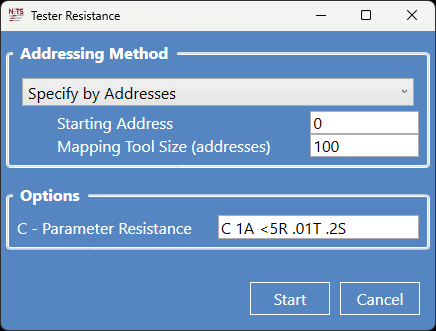
- Users are given three (3) choices:
Specify by Addresses - Users enter the starting address and the mapping tool address range.
Specify by Connectors - Users select the connector's address and the address range.
Start at Mapping Tool Location - Users start at the current mapping tool location.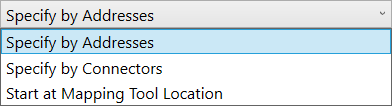
The Options field allows users to modify the default test parameters. - Click the Start button.
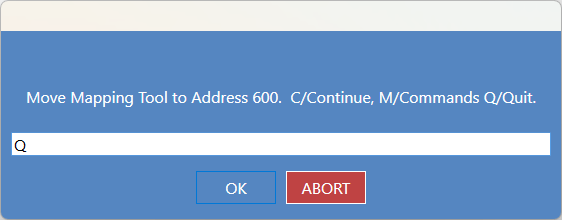
- Users are presented with the options to (C) Continue, (M) Commands, and (Q) Quit the test. Enter "C" and click OK to start the test.
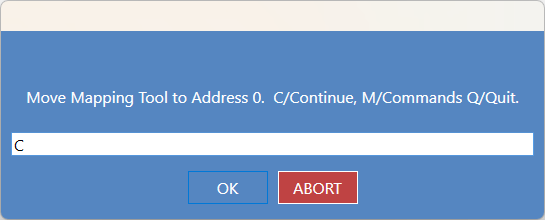
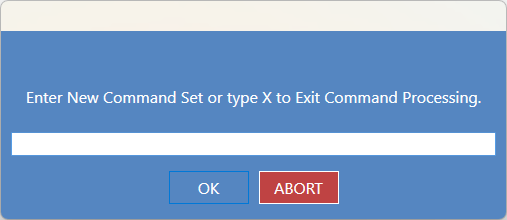
- OPTIONAL: Entering "M" results in more command options for the test.
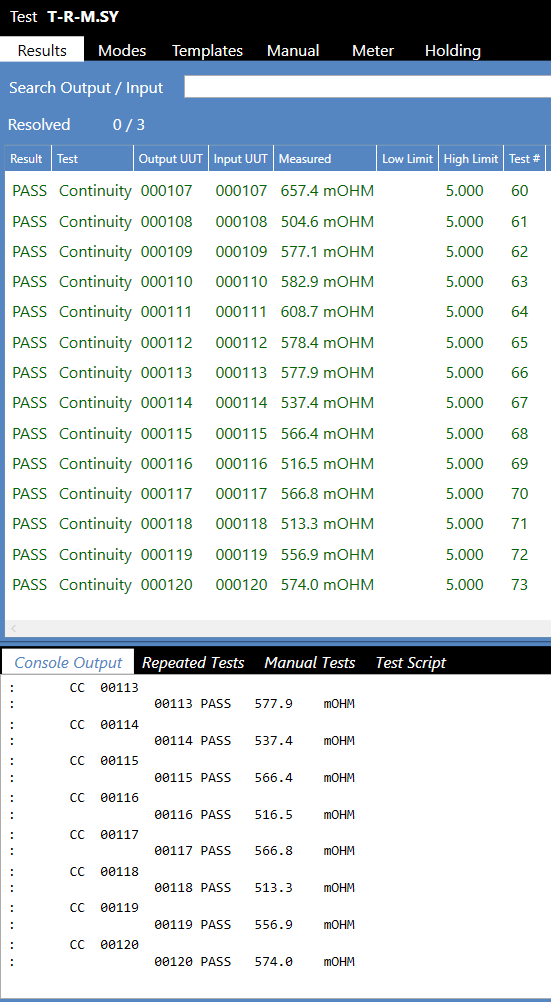
- The test executes and displays results as the tare mapping results are measured and recorded.
- Follow the instructions to move the Mapping Tool to new addresses until the last set of addresses has been tested.
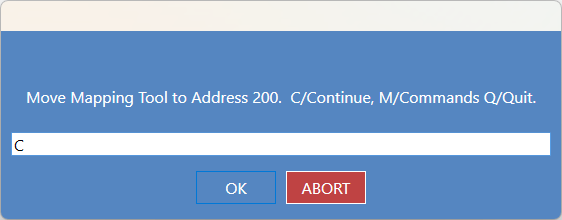
- After the last set of addresses has been tested, enter "Q" to quit the test and click OK.
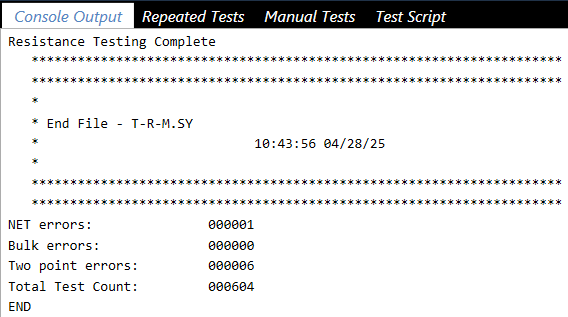
- Tare Map test results are displayed in the Console Output.
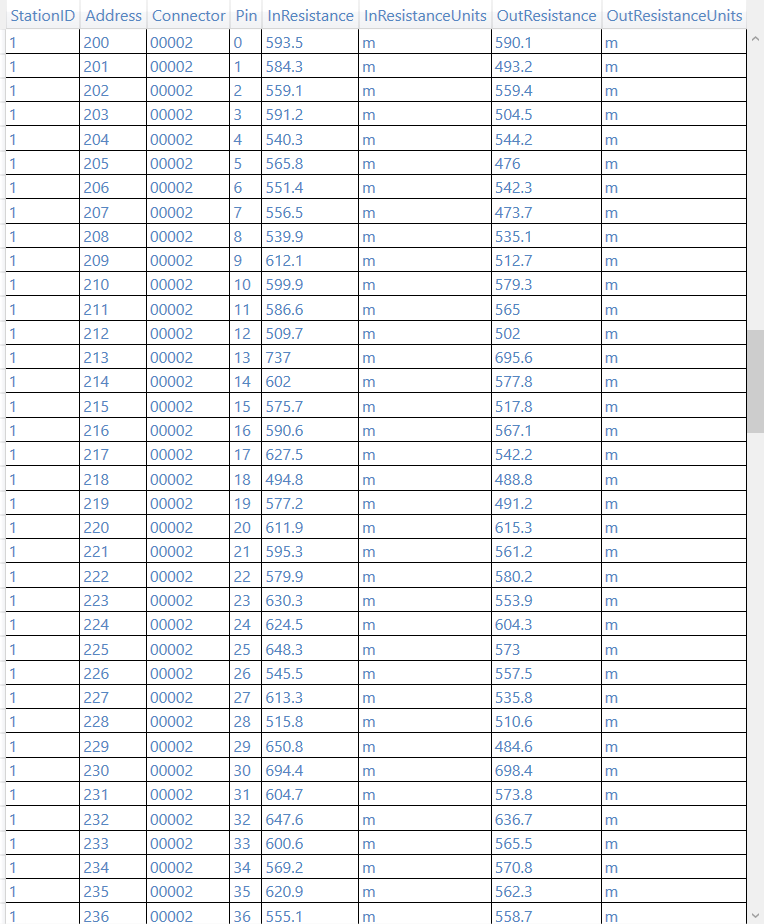
- Click the View button and select Tester Resistance from the Type of Data dropdown list to see the tare map.
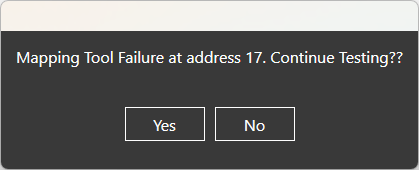
Note: If errors are encountered during testing, users have two options: cancel the test, resolve the errors, and retest, or continue with the error(s). The tare map will not record any addresses that experience an error, i.e., they will be omitted, and no tare value will be assigned to them.
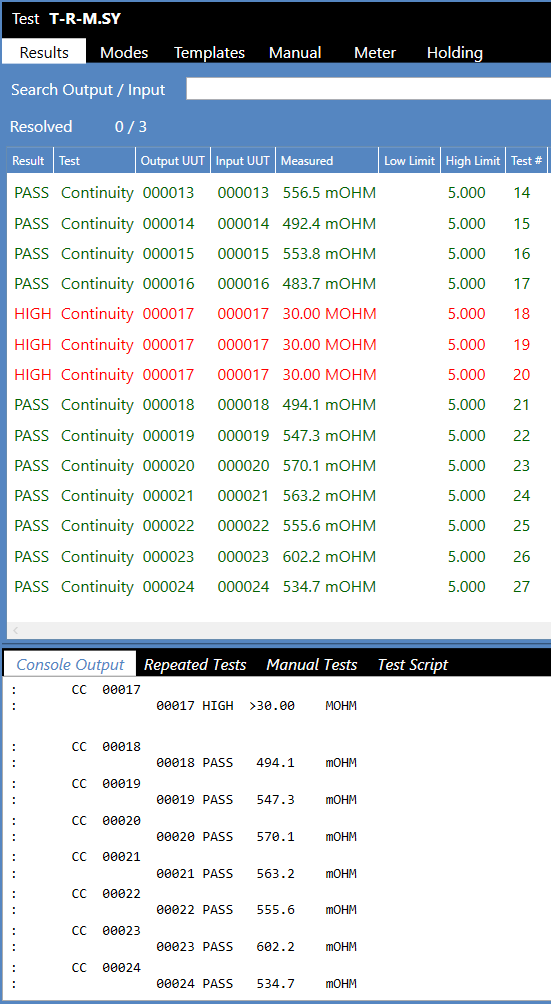
Source: NETS User Manual, Revision D, document 132-06035-0006, section 8.2.2.