
Before starting the Verification Test:
- Ensure the tester is powered on.
- Verify the analyzer is operating under proper environmental conditions.
- Obtain either a CVT-1 or VT-1 verification tool.
- Remove all production adapters from the tester.
⚠️ Important: A Verification Test requires a CVT-1 or VT-1. It cannot be performed without one.
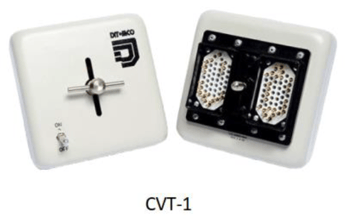
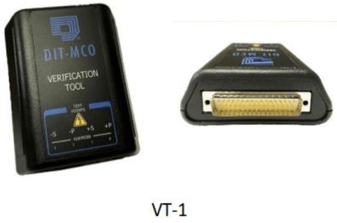
Step 1 – Open the Verification Test
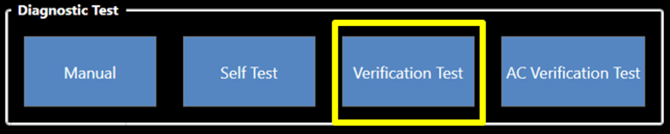
From the Maintenance menu, select Verification Test to begin the verification process.
Step 2 – Verify Environmental Conditions
Confirm the analyzer is operating within the proper environmental conditions.
Click OK to continue.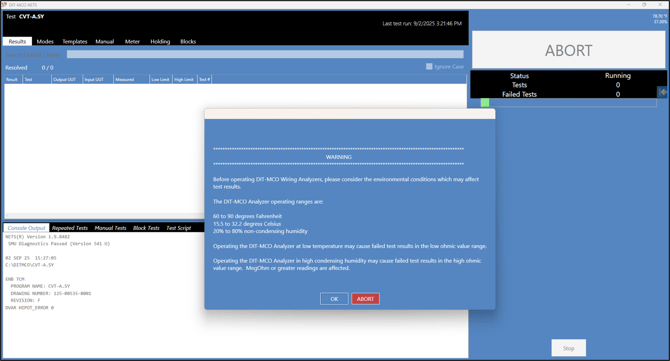
Step 3 – Connect the Verification Tool
Connect the CVT-1 or VT-1 to Address 000.
Once connected, click Yes to continue.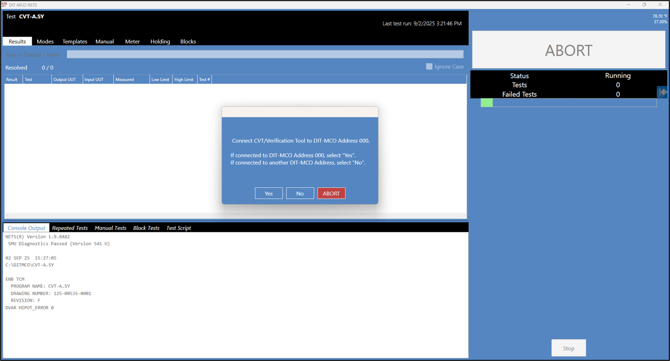
Step 4 – Confirm the Verification Tool
Verify that NETS has identified the correct verification tool.
Click OK to proceed.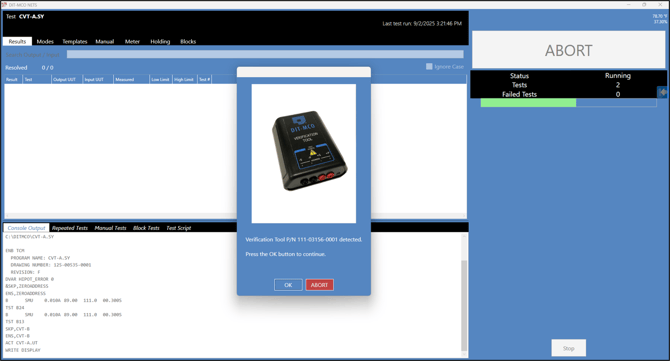
Step 5 – Verify Tool Status
Before running the test:
VT-1
- Confirm the green LED is illuminated.
CVT-1
- Verify the battery switch is in the ON position.
Click OK to begin testing.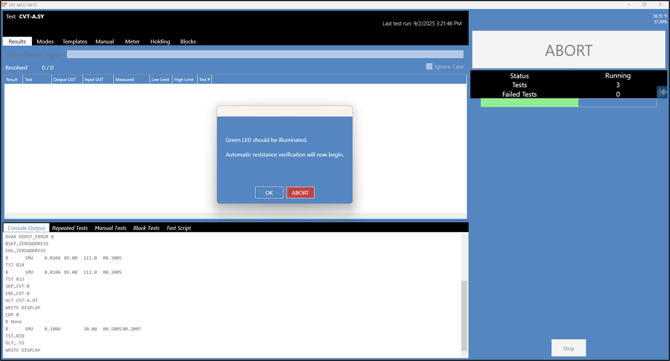
Step 6 – Test Execution
The Verification Test runs automatically.
During the procedure, NETS performs:
- Resistance verification
- HiPot verification
- Voltage verification
The software will display each step as it progresses.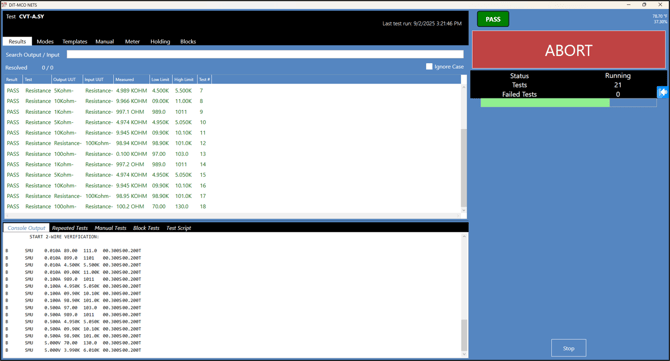
Step 7 – Complete the Test
After testing is complete:
- The VT-1 green LED will turn off.
- Turn the CVT-1 battery switch to OFF.
- Disconnect the verification tool.
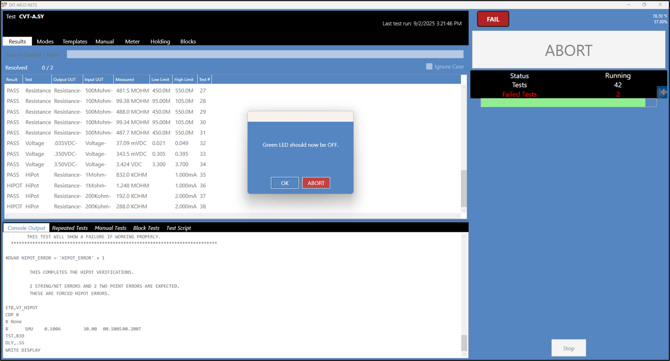
Understanding the Results
A PASS result confirms the analyzer is operating within DIT-MCO specifications.
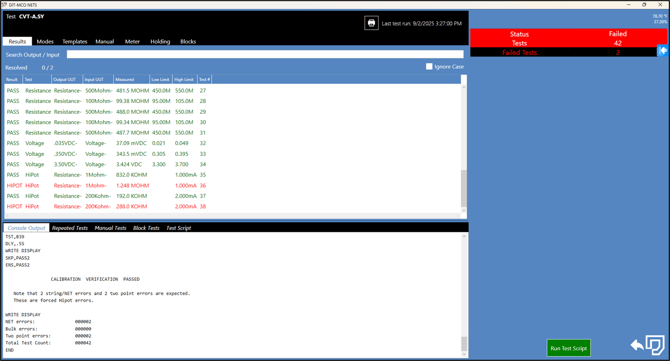
After a successful test, two forced HiPot errors are expected. These errors are intentional and indicate the Verification Test completed successfully.
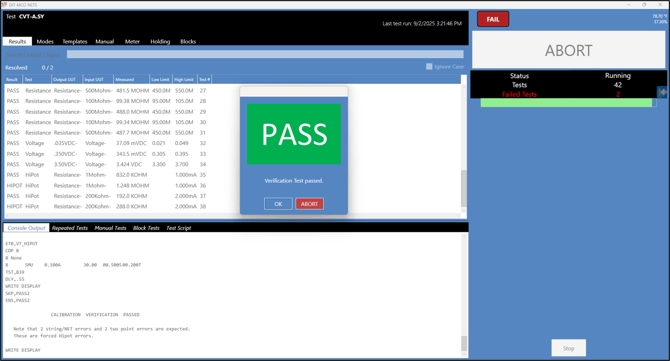
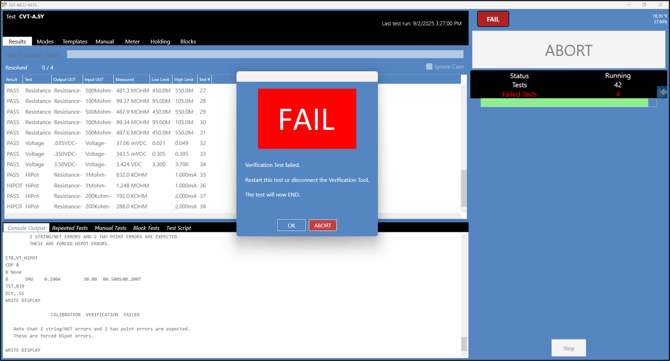
A FAIL result indicates one or more verification tests were unsuccessful.
Before contacting DIT-MCO Service:
- Confirm the correct verification tool was connected.
- Verify all connections.
- Repeat the Verification Test.
- Ensure the verification tool is functioning properly.
Results Tab
Following a successful Verification Test, the Results tab displays two forced HiPot errors. This is expected behavior and confirms the test executed correctly.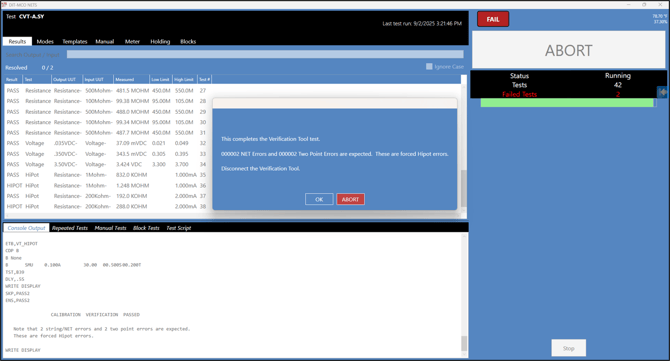
Best Practices
- Perform the Verification Test at least once per year.
- Use only an approved CVT-1 or VT-1 verification tool.
- Confirm environmental conditions before testing.
- Always disconnect and properly store the verification tool after use.